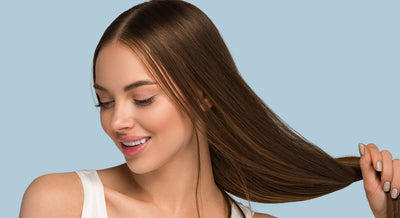
Keratin treatments, along with the similar Brazilian Blowout, are all the rage these days. Not only are there countless articles and salons dedicated to them, but there is also a huge range of at-home products for people to create their own hair smoothing results from the comfort of their own home. While these treatments can come with a hefty price tag, their results speak for themselves, leaving the hair looking so smooth, shiny, and soft that you’ll think your hair was photoshopped!
While the most dramatic, long-lasting results can only be achieved by visiting a salon and having a professional administer the keratin treatment, there are several cons associated with a professional keratin treatment. For one, there’s the astronomical price tag, which can reach several hundred if not thousands of dollars. The other issue is the use of harsh, slightly dangerous chemicals involved in the professional keratin treatment process. Professional keratin treatments utilize chemicals like formaldehyde to break the hair strand structure in order to smoothen and restructure it, and these sorts of chemicals have unknown long-term effects and can be toxic when misused.
But before you go out and splurge on an at-home keratin treatment set, read through our how-to-guide below and learn the dos and don’ts in order to maximize your results while keeping things as safe and healthy as possible.
What is a Keratin Treatment?
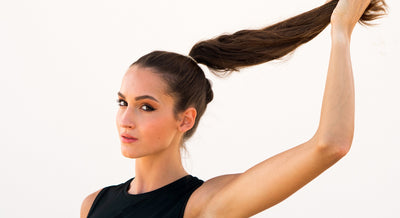
As you can guess from the name, these treatments utilize the keratin protein, which is the primary building block of our hair. The bonds of our hair strands are constructed of keratin, and the loss of keratin in the hair makes for a rough texture, lack of shine, and loss of body. By infusing the missing keratin back into the hair, you are left with astonishingly softer, smoother hair that has a remarkable amount of shine.
However, the entire process isn’t as simple as just applying some keratin to your hair and calling it a day. In order to truly infuse the keratin, a specific chemical compound must be applied that effectively opens the bonds of the hair to absorb the keratin. Since this is a rather difficult thing to do, the use of harsh, dangerous chemicals like formaldehyde is required. After application, a hot iron is applied to the hair, and the extreme temperature of the styling device is able to effectively seal the keratin into the hair strand and create a long-lasting, silky-smooth finish.
At-Home Treatments
As we’ve discussed, professional salon keratin treatments are incredibly effective, but they can also be incredibly expensive and potentially dangerous for your personal health. If you still want the same jaw-dropping results without visiting a salon, the bad news is that there’s no way to replicate the results exactly without using the kind of harsh chemicals required in a professional treatment. However, if your ultimate goal is to get smoother, softer, and shinier hair, you can certainly achieve that with a more toned-down version of a keratin treatment at home! While the results won’t be nearly as long-lasting, you should be more than satisfied with the noticeable improvement in the way your hair looks and feels.
What You Need
Many at-home keratin treatments will already come with the essentials, but in case they don’t you’ll need five key items to get on your way. The first is a clarifying shampoo, which is harsher than a standard shampoo and can strip the hair of as much oil and buildup as possible. The second is a keratin treatment product, which will be the headliner of your product arsenal. The third is a flat iron, preferably one that utilizes infrared or ionic heat technology. The fourth is a deep conditioner to keep your hair replenished and moisturized after treatment, and the fifth is a gentle, sulfate-free shampoo to help prolong the treatment afterward.
Once you have all the tools at your disposal, you’re ready to get on your way. Here are a few basic steps to follow:
- Wash Out Your Hair
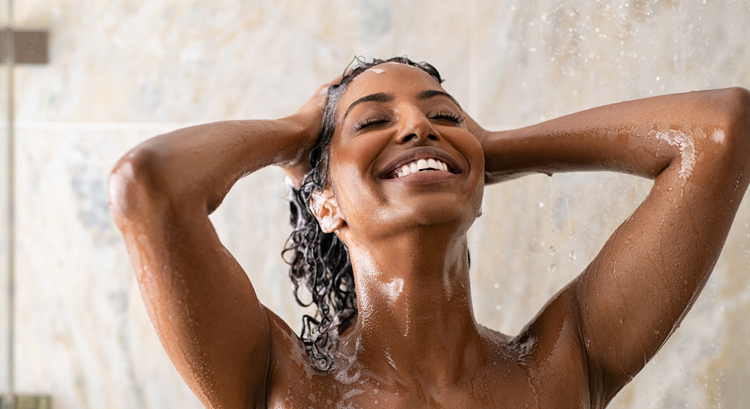
Before you can apply anything to your hair, you’ll need to strip it completely of any oil, grease, or product buildup. For your hair strand to most effectively absorb the keratin product, your hair needs to be as clean and stripped as possible. Wash your hair with water, then work a generous amount of your clarifying shampoo into the hair, taking your time to work from the roots to the tips of the hair. Once you’ve spent a good amount of time shampooing, rinse completely from the hair with water and lightly towel-dry your hair, still leaving it damp, but not soaking wet.
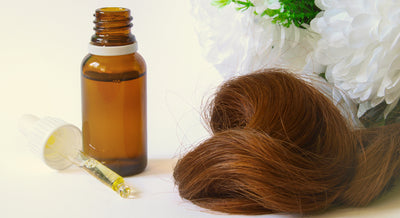
- Apply the Keratin Treatment Product
With your hair still damp, you’ll want to apply the keratin treatment product, as it will be most effectively absorbed when the hair is wet and the cuticle is expanded. Work a generous amount of the keratin product into the hair, again working from roots to tips. Once applied, take a wide-tooth comb and very gently comb through the hair, working from head to tip in order to most effectively distribute the product. Once finished, allow the product to sit in your hair for at least 30 minutes and up to one hour, depending on the instructions of your chosen product. Once the time is up, rinse the product out with water, removing any residue that failed to absorb into the hair strand.
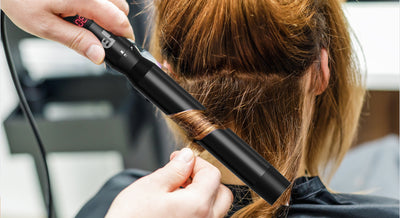
- Dry and Seal with a Flat Iron
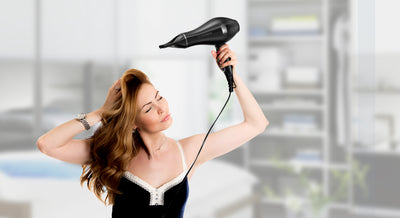
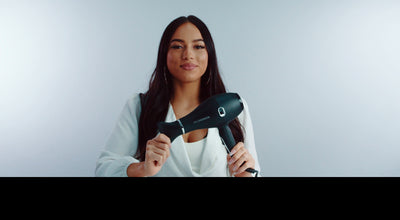
Now that your hair has absorbed all of that beneficial keratin, now is the time to seal it into the hair strand and create that head-turning finish. First, you’ll want to use a blow dryer to make sure the hair strand is completely dry. Once your hair is no longer damp, you’ll want to bust out a flat iron and begin by straightening the hair, working section by section until you’ve straightened your entire hair from root to tip.
- The 48-Hour Rule
After you’ve applied your treatment, you’ll need to be very careful about not doing anything to minimize your results. Thus, delay washing your hair for at least 48 hours after applying the keratin treatment. Once the 48 hours are up, make sure to use your gentle shampoo and rich, leave-in conditioner to prolong the effects.